Connect Gmail to ChatGPT
This guide walks you through connecting your Gmail account to ChatGPT via Proxi’s integration platform. Important: This setup must be completed on the ChatGPT website. Creating Custon GPTs is not supported on ChatGPT desktop or mobile apps.
Watch the video above or follow the steps below:
Prerequisites
Before you begin, ensure you have the following:
- A ChatGPT account with access to creating custom GPTs (log in via chatgpt.com).
- An active Proxi account.
- Established connection between Proxi and Gmail. If you haven’t established a connection yet, please follow Connect an App guide.
- Generated API key with access to at least Gmail threads. If you haven’t generated one yet, please follow our Create an API Key guide.
Step 1: Log In to Your ChatGPT Account
- Visit chatgpt.com and log in to your account using a web browser.
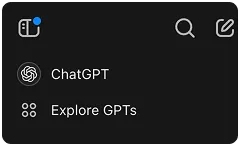
Step 2: Navigate to the Explore GPTs Tab
- Once logged in, click on the Explore GPTs tab in the ChatGPT sidebar at the top left corner of the screen.
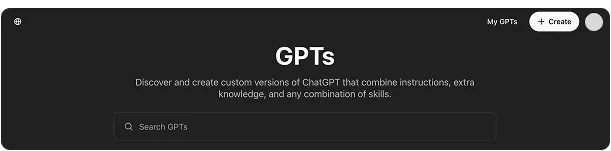
Step 3: Create a New GPT Instance
- Click the Create button located in the top right corner of the ChatGPT interface.
Step 4: Open the Configure Section
- In your new GPT instance, select the Configure tab to start setting up your custom assistant.
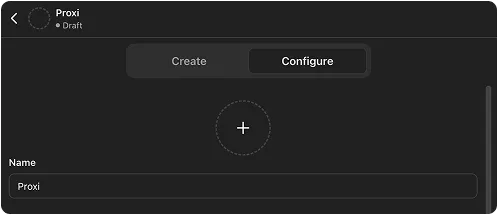
Step 5: Add Configuration Details
Customize the configuration settings as needed. Below is an example:
- Write a Name:
For example, set the name as
Gmail GPT
- Write a Description (optional):
Provide a brief explanation such as:
Allows interaction with your Gmail account.
- Write Instructions (optional):
The following instructions have been thoroughly tested and provide excellent functionality for Gmail integration. You may customize them further based on your specific needs:
When I talk about emails I usually refer to threads.

When I ask about recent emails or today's emails, first retrieve the latest email threads using the endpoint GET /api/v1/tools/google-mail/users/me/threads. Never fabricate or hallucinate threads.

When displaying email, always clearly present both the "From" and "Subject" headers exactly as provided by the Gmail API, ensuring sender names and subjects are accurately shown. Do not omit or paraphrase these fields.

When I ask to "show me my latest email," "open email" or similar phrases, always retrieve and display the full email content using GET /api/v1/tools/google-mail/users/me/threads/{threadId}?format=full

For any Gmail API request:
	1.	If the API call fails or returns an error, explicitly state the request parameters used and the exact response from the Gmail API, allowing me to troubleshoot the issue.
	2.	Never fabricate or hallucinate email content. Only show content that directly matches the actual Gmail API responses.
- Conversation Starters (optional):
Examples include:
List my latest unread emails
Show me today's emails.
-
Knowledge (optional): You can leave it blank. We are not sure how to utilize it effectively at the moment. If you have ideas please share with us on our discord server
-
Capabilities:
We recommend disabling all capabilities as it would make Custom GPT more focused on working with Gmail
Step 6: Create a New Action for Gmail
Scroll down within the Configure section and click Create New Action.
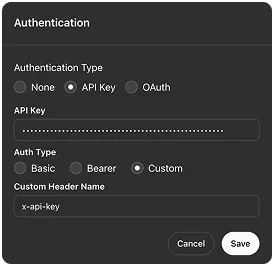
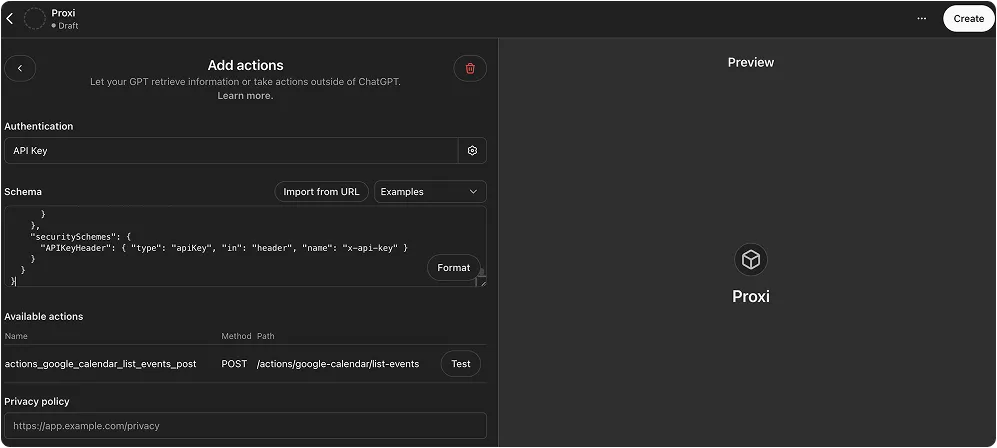
Step 7: Configure Authentication for Gmail
For your Gmail action:
- Select API Key as the Authentication type.
- In the API Key field, enter the API key generated in Proxi.
- Under Auth Types, select Custom.
- In the custom auth field, enter the following:
x-api-key
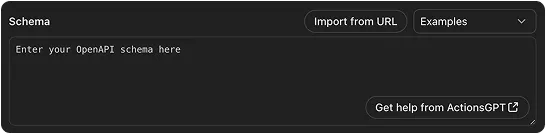
Step 8: Insert the Schema Code
- Navigate to the Proxi API Keys page.
- Click the View Specs button next to your generated API key.
- Locate the spec for Gmail (Google Mail API) and click View Spec.
- Use the Copy button to copy the Gmail API specification.
- Paste the copied specification into the schema field in ChatGPT.
Step 9: Test Action Configuration
- Click the Test button to verify that the configuration works as expected.
Step 10: Create the Action and Custom GPT
- Once the test is successful, click Create to finalize the Gmail action. A pop-up will appear — click “Create” or “Update.” Another pop-up will appear—click “View GPT” to go directly to your newly created GPT.
Final Step: Verify in ChatGPT Sidebar
- Congratulations! Your custom GPT, named “Gmail GPT,” is now created and ready to use. You can find it under “My GPTs.” Just click the “Explore GPTs” button and select “My GPTs.” You can access your new assistant from both the mobile and desktop apps.
Need Help?
If you encounter any issues during setup or have questions, please:
- Contact Support: Email us at myproxi@proton.me
- Join Our Discord: Connect with our community on Discord
This guide sets up a custom ChatGPT assistant to interact seamlessly with your Gmail account using Proxi’s standardized API endpoints. Enjoy your new Gmail GPT!